
We take putty impressions of your mouth, so that small trays can be custom made for your mouth to hold the whitening gel. That is the end of visit one at the surgery. The impressions go off to the dental laboratory technician who makes the trays.
Making the trays is quite complicated. First, modeling stone is poured into the impression and allowed to set to produce models of the mouth.
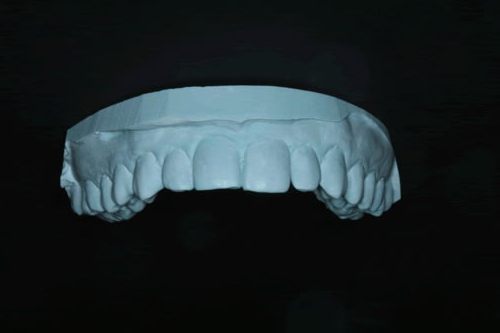
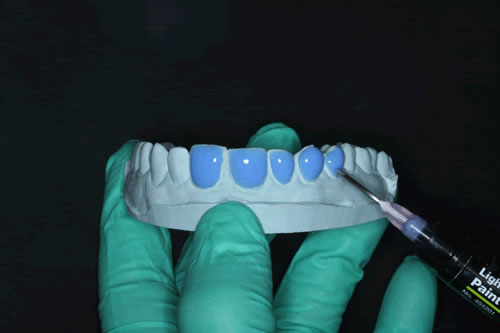
A fine layer of wax is painted onto the outside of the model before the tray is made. This will produce a small reservoir between the tooth and tray, where the gel will sit.
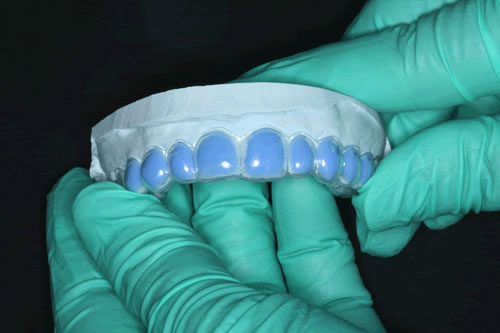
The resin tray is now made on the model.
This is returned to the surgery for your next visit.
On your second visit, we make sure the tray is a good fit and give you the Illumine home kit and all the instructions on how to use it. These are also available by clicking here.
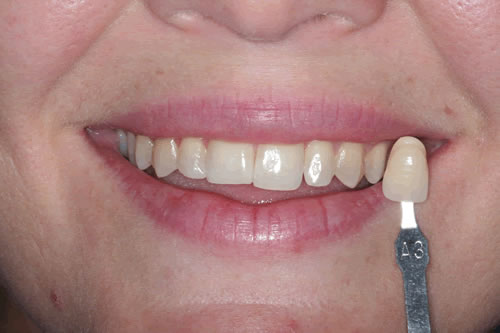
Before you go we check the shade of your teeth. We do this again once the teeth have been whitened to assess the improvement. Often a Hygienists appointment is scheduled before starting the whitening to get the best results. That is the end of the second visit. You can then go home and start to whiten your teeth!
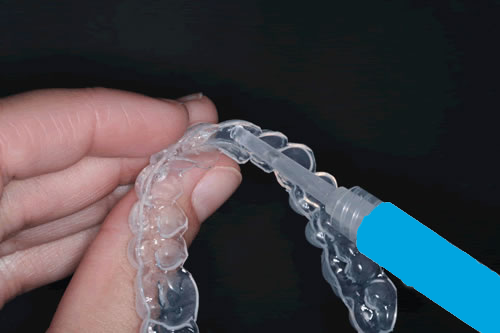 A
Small amount of gel is placed inside the custom made tray.
A
Small amount of gel is placed inside the custom made tray.
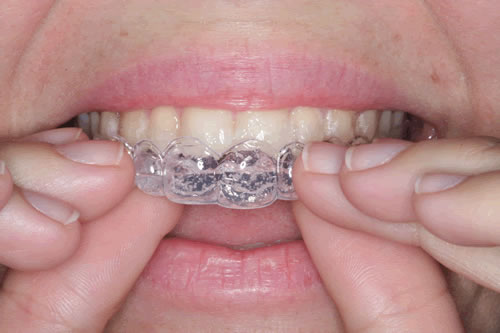 The
Tray being placed in the mouth.
The
Tray being placed in the mouth.
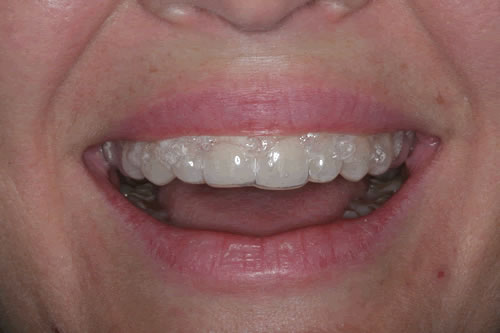 The
tray being worn. This has to be done for between 2 to 6 hours per day for upto 14 days.
The
tray being worn. This has to be done for between 2 to 6 hours per day for upto 14 days.
We can make a third appointment to retake the shade of the teeth and review the results of the whitening